
Adding a breath of fresh air to your interior color scheme can completely transform the feel of your home.
For a really standout finish, why not try a single wall matching your ceiling color? It is bold choice and can create a striking contrast.
Maybe theme your paint job to make the room really unique! Here’s some inspiration for any sports fans in your family.
Choosing the right color doesn’t have to be stressful
There are so many colors to choose from and it may seem daunting but help is at hand. Nadia Geller from Trading Spaces has some really helpful tips to make choosing the right color as easy as possible.
As they say in the Scouts: BE PREPARED!
Get organized before the actual project begins. Most prep work can be done a day or more before you start painting.
Obviously you’ll need to get all furniture out of the room. Anything that can’t be moved should be carefully covered with drop cloths. If you intend to paint the ceiling, disconnect and remove any light fittings.
Spread out drop cloths over the whole floor so you are completely prepared for any unexpected mishaps. Use tape around the edges so that when you paint the baseboards you don’t get the floor. Try to spread the cloths smoothly and overlap them well so that they don’t become a tripping hazard.

Repair Damaged Surfaces
Scrape away old, flaking paint, and lightly sand painted woodwork to “knock down” glossy surfaces and prepare them for new paint.
Fix any dents, chips, or cracks in the walls before you start painting.
Patch small imperfections with spackling or drywall compound. Allow the patches to dry, then sand smooth. Use a damp sponge to wash dust off the walls before painting.
Paint only on clean, dry surfaces. While you work, open windows or run fans to provide a constant supply of fresh air, which will also help to dry the paint more rapidly.
So where should you start? Do you paint the walls, ceilings, or trims first?
Professionals and masters usually follow a certain order when painting a room. They paint the trim first, then the ceiling, then the walls. You should try to follow this order when painting your room, hopefully it won’t take four years to complete!
Choose the Right Primer.
An acrylic top-coat will adhere to an alkyd base primer. So you will have some choices for the walls and trim. A fast drying alkyd primer is a good choice for woodwork as it can be sanded smooth. An enamel undercoater is the best choice for woodwork that will be painted.
Walls are best primed with an acrylic primer. For a single room use a universal acrylic primer. For multiple rooms or the entire house use a PVA wall board primer.
If your job requires several gallons of paint, avoid color variations from can to can by opening all of the cans and mixing, or “boxing,” them together in a separate container. While you work, use a paint stick to mix the paint frequently, giving it a good stir from the bottom up to prevent the pigments from settling.
To keep paint from building up in the paint can rim and spilling over the sides, use a hammer and nail to punch a small hole in the interior rim of the can, this will allow excess paint to drain back into the can.
To get the most precise and detailed finish possible you should use our vFan Spray System. You will find that the vFan, which works with any standard compressor in addition to our portable 150 Feet of Energy, will give you an accurate and precise application and ensure the paint and primer are applied precisely.
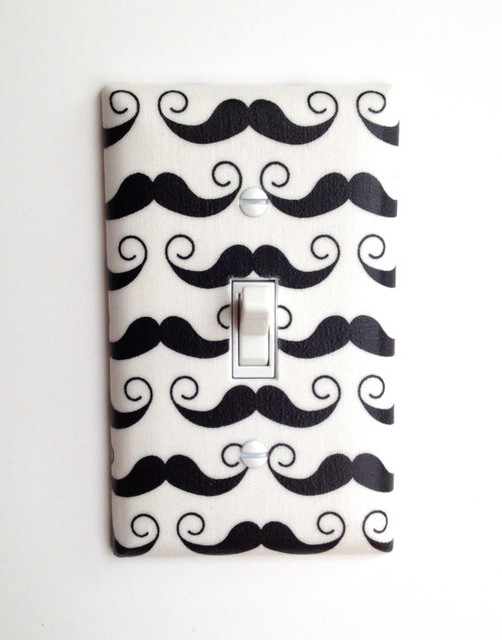
And, finally, a handy tip for touch-ups
When you finish painting a room, touch-ups are usually the last thing on your mind. But it’s a good idea to write the paint name and product number on painters tape and stick the label to the back of the room’s light-switch plate. When the time comes to cover scuffs, you’ll know exactly what shade to buy.


