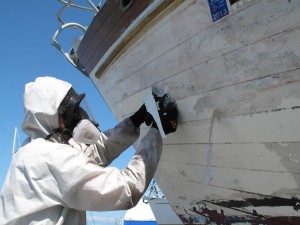
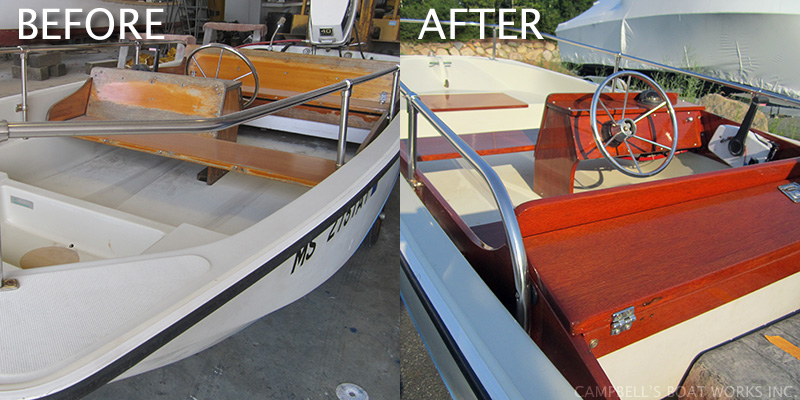
Paint scratches on your boat? No need for a costly paint job.
So we’re going to give you some guides on how to do more specialized tasks with our Spray Powered technology. Today, let’s look at the process of applying a marine gelcoat to kick your boat up a notch.
Prepare prepare prepare – Get it out of the way or seal it up
The key to a quality gelcoat repair is all about getting fully prepared before you start. That includes getting absolutely everything out of the way. From there on, it’s going to be plain sailing.
Remove anything that could possibly get in the way of your job, and we do mean everything… from rails, to snaps, to guard rails… whatever it is, be sure to get it out of the way
Anything that simply cannot be removed should be carefully sealed with duct tape. We always recommend duct tape over masking tape as it’s going to give you a far superior protection.
Getting Started – Be Safe Be Clean
So now you’ve finished your prep it’s time to get started.
Make sure that you’ve got some protective eyewear and gloves and always make sure you are working in temperatures no higher than 80° F and no lower than 60° F.
Clean up the area around the repair, try to make it as spotless as you possibly can, be sure to remove all oil and dirt, this little bit of effort is going to really help your repair last a lot longer.
Make sure to get the color right
Unlike paints, gelcoat does not darken when it dries; the color you see when wet is exactly the same color you are going to get when it is dry.
If you want to make your color be so bright that it shows up on Google Earth then check out this incredibly helpful video.
Don’t be tempted to mix big batches
We recommend mixing batches that are no bigger than 5 oz., and pour the mixed gel coat from container you mixed it into the Preval product container used for application. This ensures that no uncatalyzed materials are clinging to the sides of the pot.
One coat or two?
Usually one coat is going to be enough, but if you find that you have problems with opacity then two coats may be necessary with a light sanding in between coats.
Once the gelcoat has cured you should block sand it using 250 wet grit paper to remove any brush marks or high spots, then once you’ve done that wet sand with 320, 400, and 600 wet grit paper.
Thinning gelcoat – Don’t over do it
Gelcoat can be thinned for use in the Preval Sprayer with styrene monomer.
Whilst the Sprayer is one of the very best you can find Acetone is NOT recommended except in clean up. Aim to use about 10% by volume of thinner and definitely don’t use more than 15% by volume as over thinning will result in an inadequate thickness which in turn will prevent full curing.
Precision – Get the most precise and detailed finish possible with the vFan Portable Airbrush
You will find that the vFan Spray System which works with your compressor will give you an accurate and precise application and ensure the materials are applied precisely.
Keep your movement smooth – Steady as she goes
Try to be as even and consistent as possible with your hand movement, do not hesitate at the end of a pass, so as you begin to spray make a full sweep and turn back and follow all the way through to get a really smooth matching coat.


